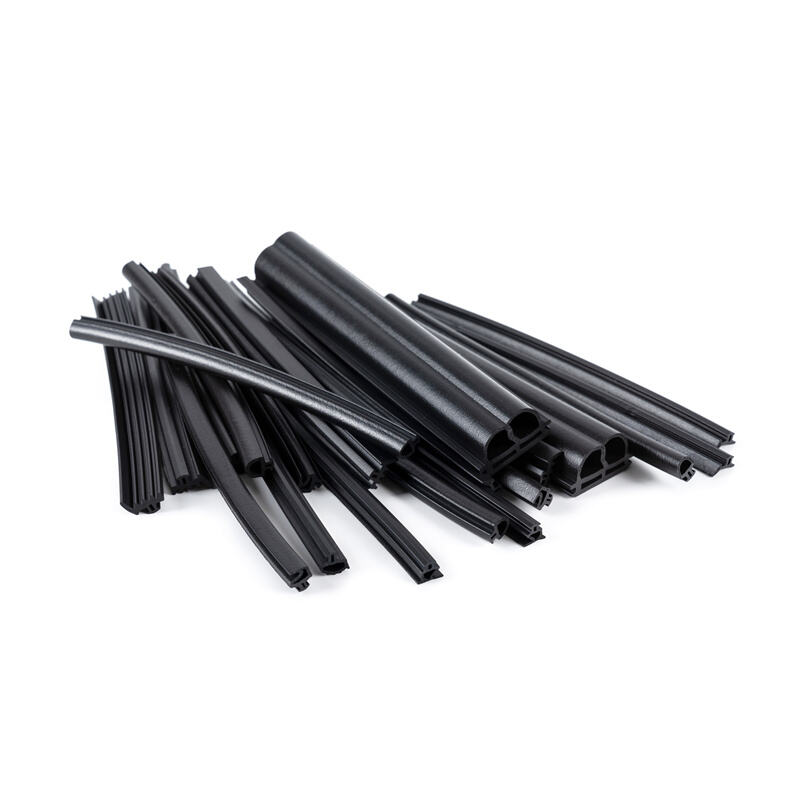
Rubber seals around our windows keep our homes warm in winter and cool in summer. As the years go by, they can age and break apart. That can allow cold or hot air to seep in, which makes it difficult to maintain the appropriate temperature in our homes.
If you notice that your windows’ rubber seals appear damaged or worn out, it may be time to replace them. How you can do this yourself, step-by-step:
Next, take the measurement of that length where the new seal will be placed on the window frame. Use a measuring tape to ensure you get the correct size.
Finally, make sure the new seal sticks by closing the window and looking for drafts. If all good you have just replaced the rubber seal on your window!
Replacing worn rubber seals on the windows prevents drafts and keeps your house toasty. Gaps make it difficult to heat or cool your home, and can have you paying higher utility bills. And so you replace the worn rubber seals, to keep the cold air out when you’re trying to stay warm, and to keep the heat out when you need to stay cool.

Maintaining your home efficient is vital and can help save lots of money on heating and cooling bills. When the rubber seals on your windows wear out, air can escape, which forces your heating or cooling system to work even harder to maintain your desired temperature.” Not only you save the bills but also the planet from pollution by replacing these seals.
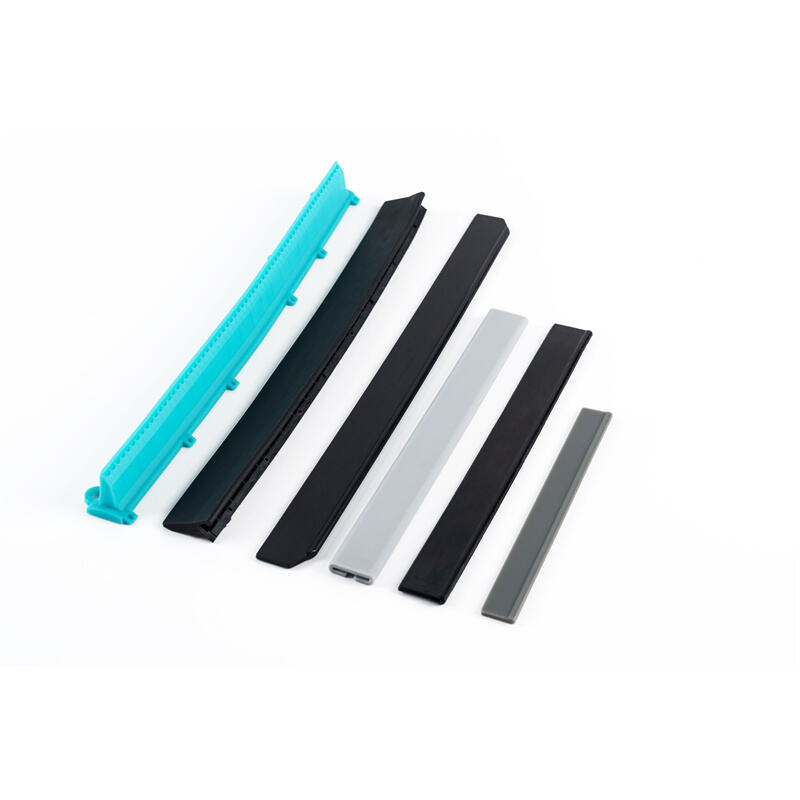
Putting new rubber seals on your windows is fairly simple. You can do it yourself in a few easy steps and with a few common tools! Here are some handy tips: